Understanding The Basics Of Traeger Grills
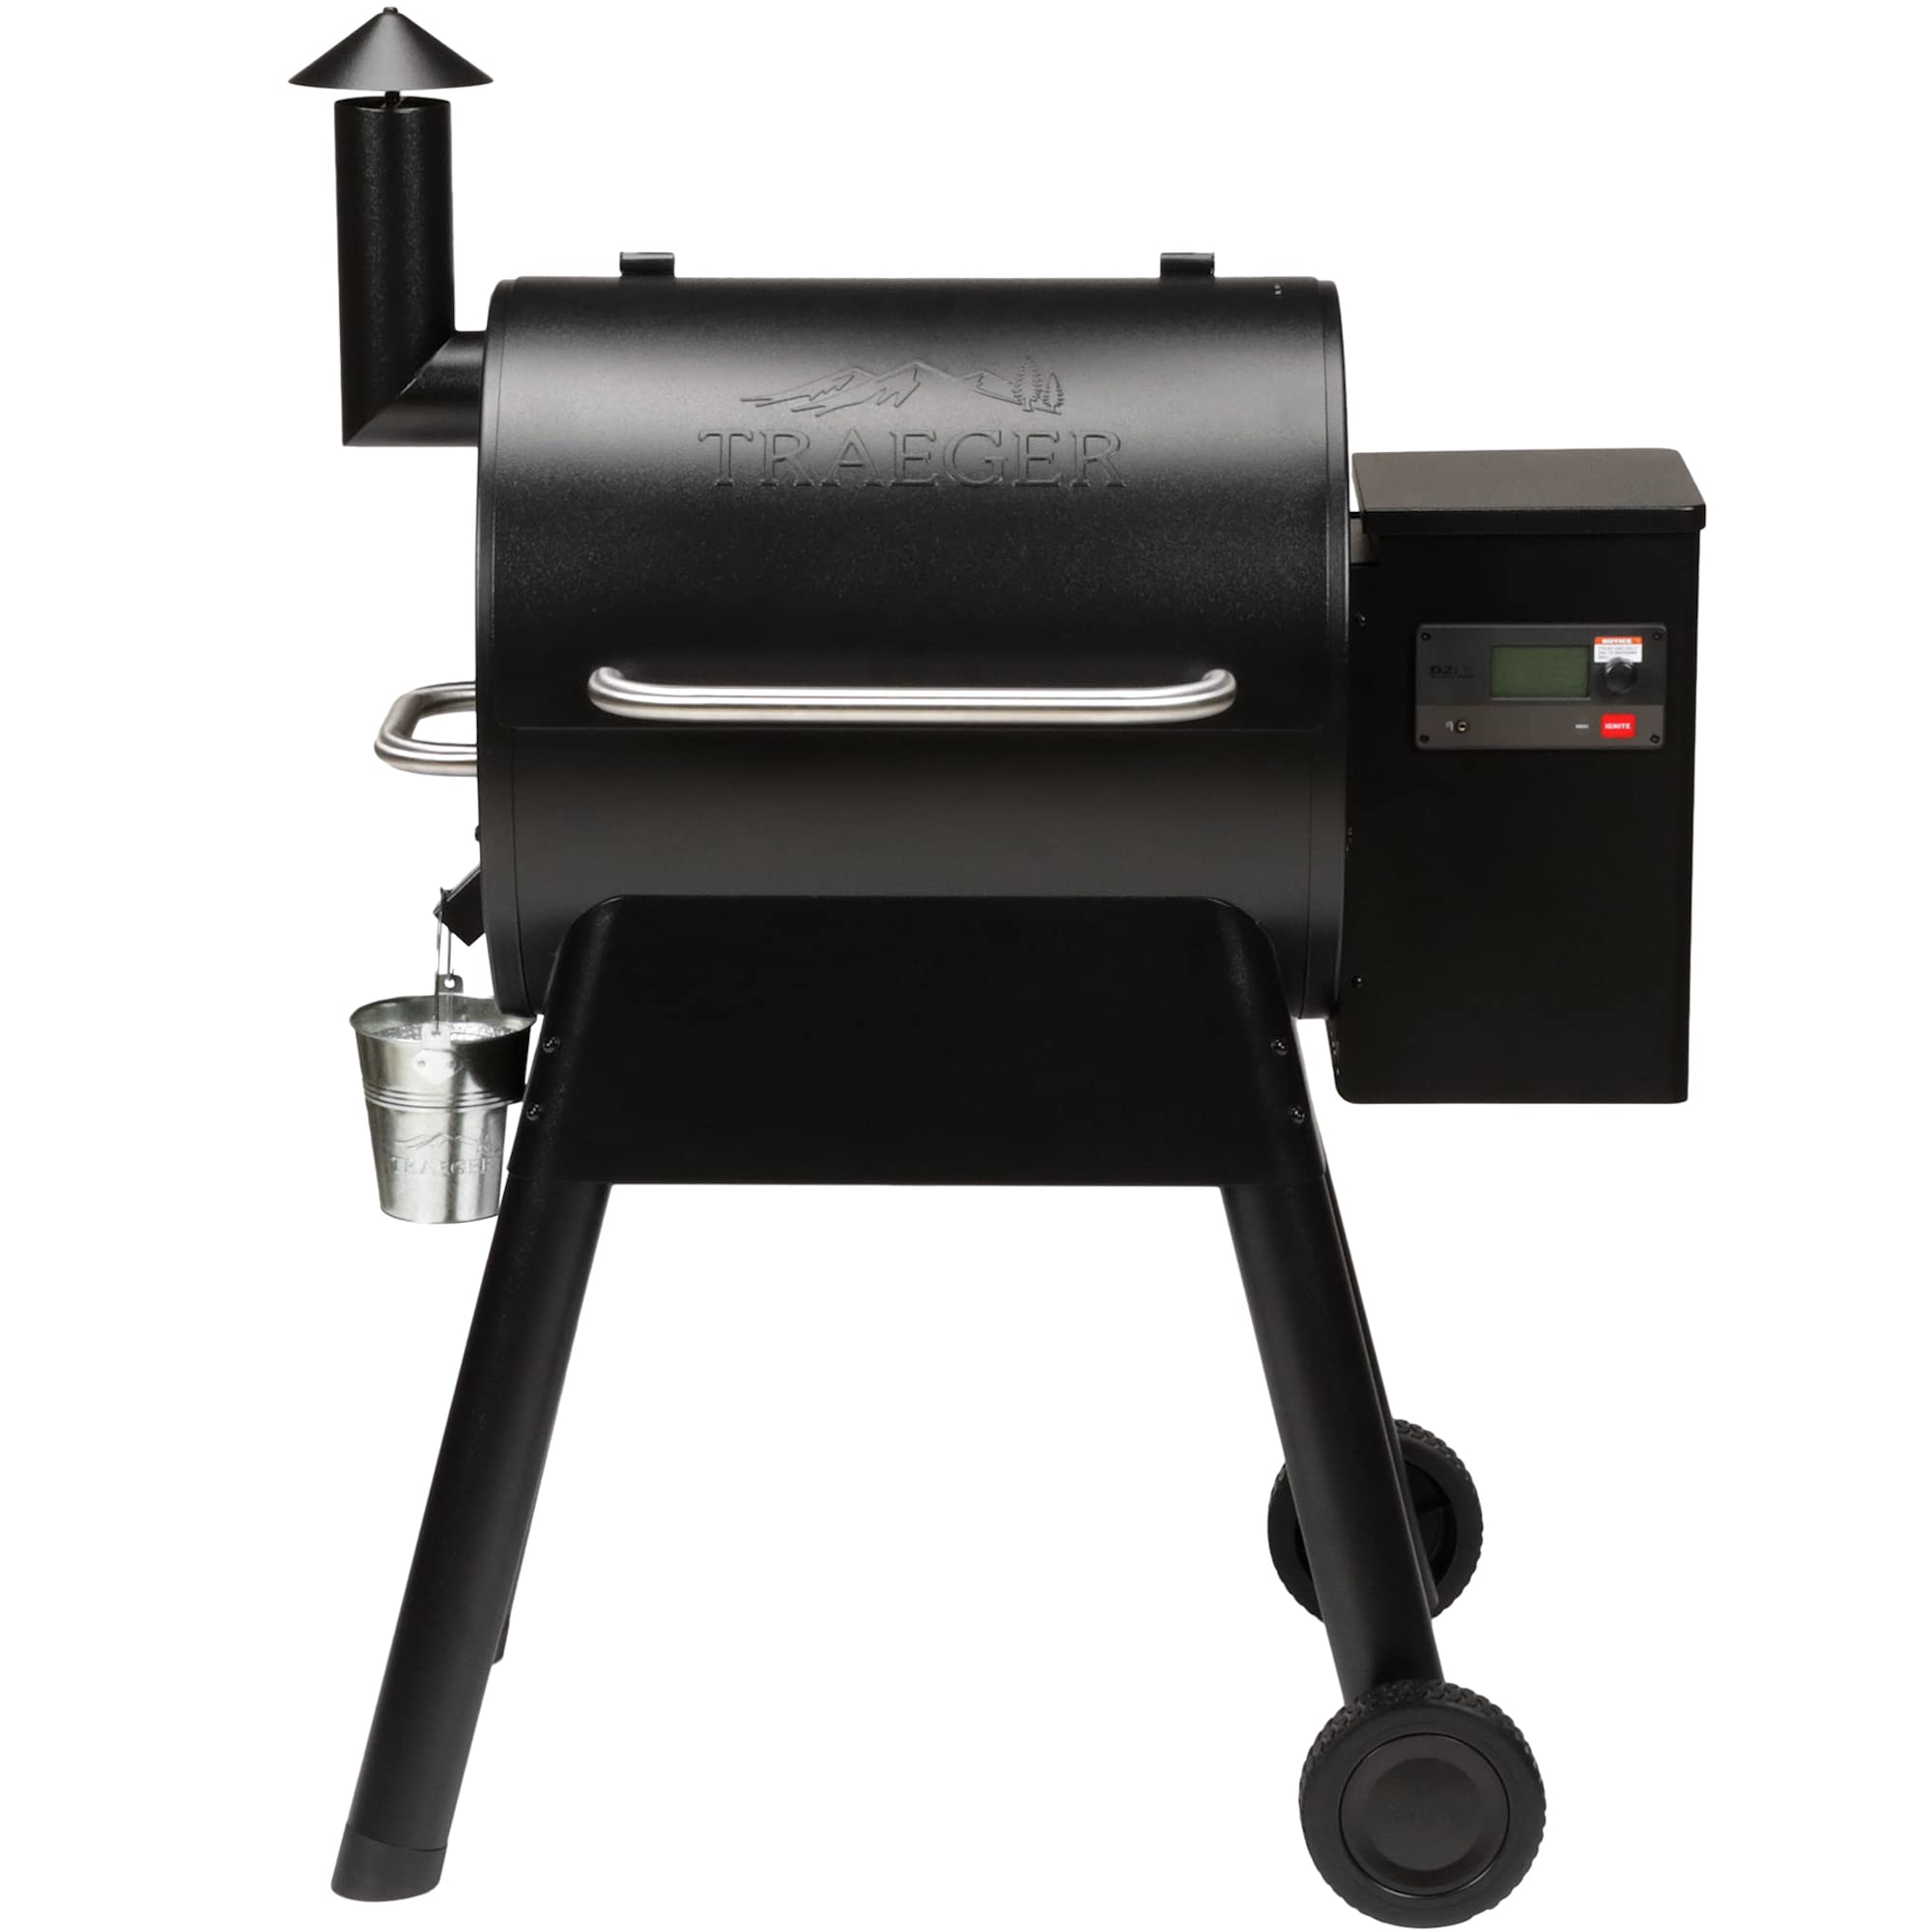
Traeger grills are a popular choice among outdoor cooking enthusiasts for their versatility and ease of use. These grills utilize a wood pellet system to provide consistent and flavorful cooking results. The pellets are automatically fed into the grill’s firepot, where they are ignited to create a steady heat source. Traeger grills are known for their ability to grill, smoke, and bake, making them a versatile option for a wide range of cooking styles. With proper setup and understanding of the ignition process, you’ll be able to master the art of Traeger grilling and enjoy delicious meals every time.
Introduction To Traeger Grills
Traeger grills have become a popular choice among outdoor cooking enthusiasts due to their versatility and ease of use. These grills utilize a wood pellet system to provide consistent and flavorful cooking results. With Traeger grills, you can grill, smoke, and bake, making them a versatile option for a wide range of cooking styles. The automatic pellet feeding system and ignition process ensure that you can effortlessly start the grill and enjoy delicious meals every time. Whether you’re a seasoned grilling pro or a beginner, Traeger grills offer a convenient and enjoyable cooking experience.
Benefits Of Using A Traeger Grill
Using a Traeger grill offers numerous benefits for outdoor cooking enthusiasts. One of the main advantages is the ability to infuse your food with true wood-fired flavor. The wood pellet system provides consistent heat and smoke, resulting in incredibly delicious and flavorful meals. Additionally, Traeger grills come with simple oven-like controls, allowing you to set the desired temperature and let the grill do the rest. This “Set-It & Forget-It” feature makes cooking on a Traeger grill convenient and hassle-free. Furthermore, the 6-in-1 versatility of Traeger grills allows you to grill, smoke, bake, roast, braise, and BBQ all on one grill. With a Traeger grill, you can create flavorful moments that your friends and family won’t forget.
Setting Up Your Traeger Grill
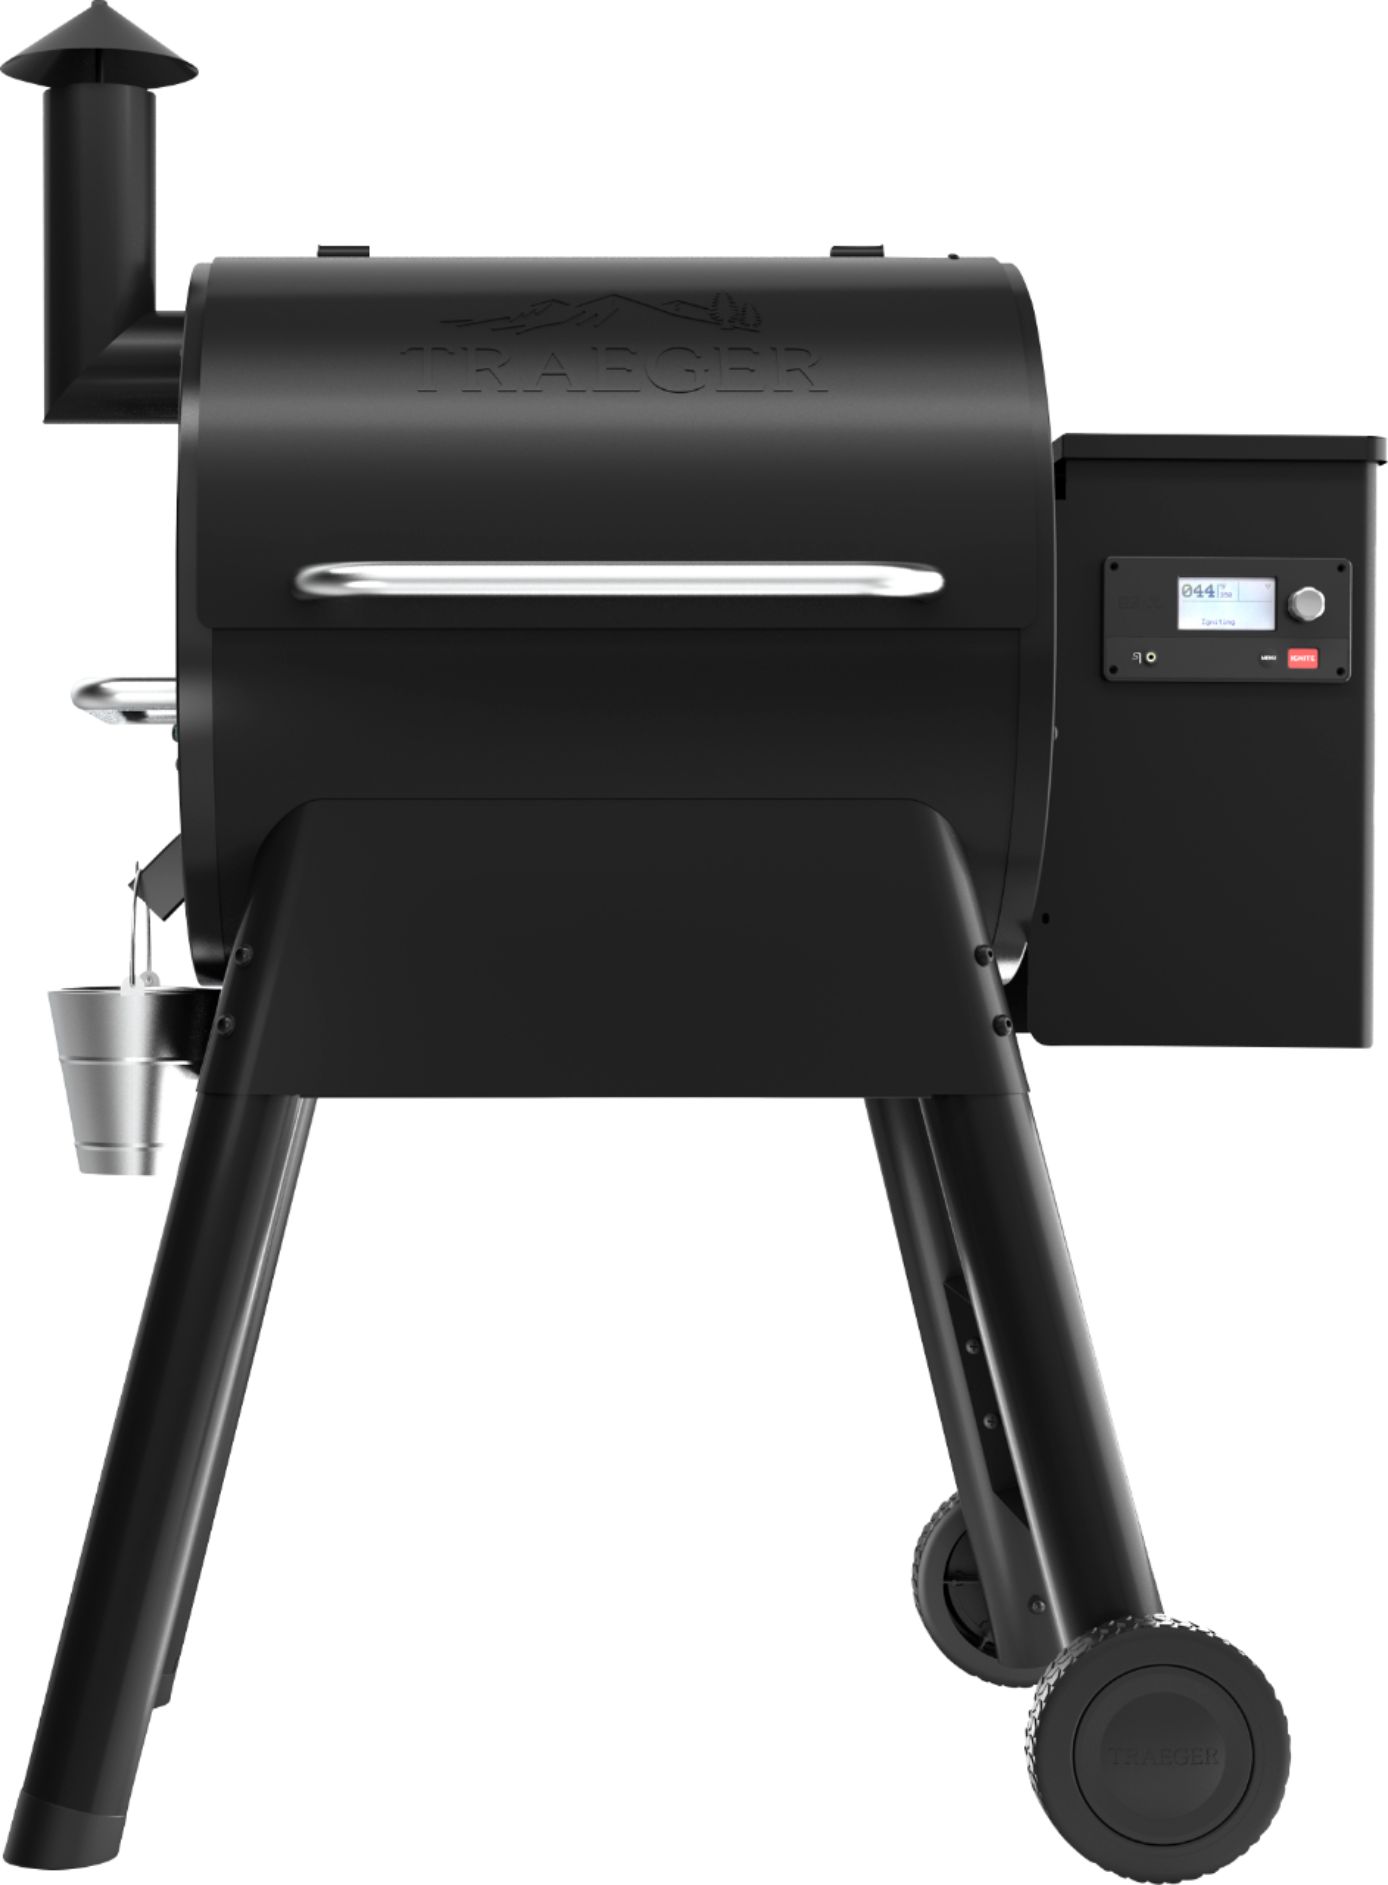
After unboxing your Traeger grill, the first step is to assemble it according to the manufacturer’s instructions. This usually involves attaching the legs, shelves, and other components. Once assembled, you’ll need to install the necessary components such as the heat baffle, drip tray, and grill grates. These components ensure proper heat distribution and help in the grilling process. After everything is in place, simply plug in your grill and flip the power switch to the ON position. Now you’re ready to start grilling on your Traeger!
Unboxing And Assembly
Unboxing your Traeger grill is an exciting moment, as it marks the beginning of your grilling journey. The process of assembly may vary slightly based on the specific model, but the overall steps are similar. Follow the manufacturer’s instructions to attach the legs, shelves, and other components securely. Once assembled, you’ll install the necessary components like the heat baffle, drip tray, and grill grates. These components play a crucial role in ensuring proper heat distribution and enhancing your grilling experience. After everything is in place, plug in your grill, flip the power switch to the ON position, and you’re ready to start grilling on your Traeger!
Installation Of Necessary Components
To ensure the proper functioning of your Traeger grill, it is essential to install the necessary components correctly. Start by ensuring that the heat baffle, drip tray, and grill grates are securely in place. These components play a crucial role in distributing heat evenly and capturing drippings for easy cleaning. Follow the manufacturer’s instructions to ensure a proper fit. Double-check that the pellets are filled in the hopper and make sure the grease bucket is in its designated spot. By installing these components correctly, you can have a seamless grilling experience on your Traeger grill.
Traeger Ignition Methods
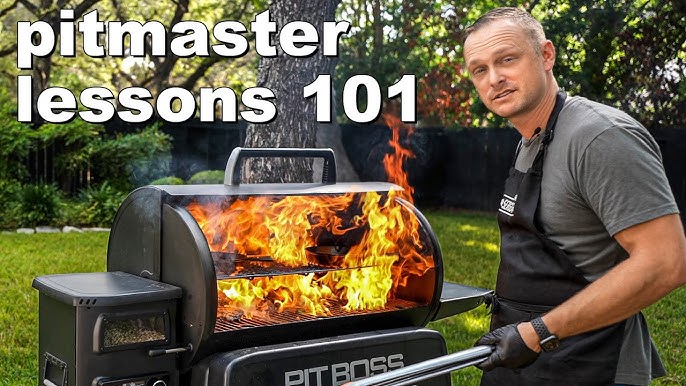
Traeger grills offer two main ignition methods: with an open lid or with a closed lid. The ignition method you should use depends on the type of controller you have. With the open lid method, you simply light the pellets manually using a lighter or torch. This method is recommended for grills with Manual Ignition controllers. For grills with Digital Pro or WiFIRE controllers, the closed lid method is preferred. With this method, the grill’s automated ignition system will ignite the pellets and heat the grill to your desired temperature. Whichever method you choose, always follow the manufacturer’s instructions for a safe and successful ignition process.
Overview Of Traeger Ignition Systems
Traeger grills are equipped with different ignition systems depending on the type of controller they have. The Manual Ignition controllers require the open lid method, where you manually light the pellets using a lighter or torch. On the other hand, the Digital Pro and WiFIRE controllers use the closed lid method. With these controllers, the automated ignition system ignites the pellets and heats the grill to your desired temperature. It’s important to follow the manufacturer’s instructions for a safe and successful ignition process.
Steps For Igniting A Traeger Grill
To ignite your Traeger grill, follow these simple steps:
- Ensure that your grill has pellets in the hopper and that the heat baffle, drip tray, and grill grates are installed correctly.
- Keep the lid open to allow for proper ventilation.
- Plug in your grill and flip the power switch located on the front of the controller to the ON position.
- Set the temperature dial to your desired cooking temperature.
- The automated ignition system will ignite the pellets and the grill will begin to heat up.
- Wait for a few minutes to allow the grill to reach the desired temperature before placing your food on the grates.
- Now, you’re ready to start grilling with your Traeger grill!
Remember to always follow the manufacturer’s instructions and maintain a safe grilling environment. Enjoy delicious meals cooked to perfection on your Traeger grill!
Preparing Your Traeger Grill For First Use

When you first get your Traeger grill, there are a few important steps to take before you start grilling. The initial seasoning process is crucial to ensure the best cooking experience. Remove the grill grates and heat shield to expose the burn pot. Pour a sufficient amount of pellets into the hopper to ensure a steady flow of smoke. Plug in your grill and turn it on. Use the temperature control dial to set the grill to the smoke setting. This will allow the pellets to ignite and create smoke, seasoning the grill. Let the grill run for about 15 minutes, then increase the temperature to 350°F and let it run for another 15 minutes. This will help burn off any residual oils or leftover debris from the manufacturing process. After this initial seasoning, your Traeger grill is ready to use! Just remember to always follow the manufacturer’s instructions and enjoy your delicious grilled creations.
Initial Seasoning Process
Before using your Traeger grill for the first time, it is important to season it properly. This process helps to remove any debris or residues from the manufacturing process and prepares the grill for optimal cooking. To begin, remove the grill grates and heat shield to access the burn pot. Pour an ample amount of pellets into the hopper to ensure a continuous flow of smoke. Plug in the grill and turn it on, setting the temperature control dial to the smoke setting. Allow the grill to run for about 15 minutes to ignite the pellets and create smoke. Then, increase the temperature to 350°F and let it run for another 15 minutes to burn off any remaining oils or debris. Once this initial seasoning process is complete, your Traeger grill is ready to use for delicious grilling adventures.
Preheating The Grill
Preheating the grill is an important step to ensure optimal cooking on your Traeger grill. After turning on the grill and setting the temperature dial to your desired cooking temperature, allow the grill to preheat for about 10-15 minutes. This will ensure that the grill reaches the desired temperature and is ready for cooking. Preheating helps to ensure even cooking and allows the grill grates to heat up, creating those beautiful grill marks and flavors. So, be patient and let your Traeger grill preheat before placing your food on the grates for a delicious culinary experience.
Traeger Grill Maintenance And Troubleshooting
Maintaining your Traeger grill is essential to ensure its optimal performance and longevity. Regular cleaning and maintenance will help prevent issues and ensure that your grill continues to deliver delicious results. Here are some key maintenance tips to keep in mind:
- Cleaning and Maintenance Tips:
- After each use, scrape off any food residue from the grill grates using a grill brush.
- Empty the ash from the fire pot and clean it thoroughly to prevent airflow blockage.
- Wipe down the exterior of the grill with a damp cloth and mild soap to remove any grease or dirt.
- Check for any loose or damaged parts and tighten or replace them as needed.
- Protect your grill with a weather-resistant cover when not in use.
- Troubleshooting Common Ignition Issues:
- If your Traeger grill fails to ignite, check that the power is connected and the outlet is working.
- Make sure the hopper is filled with enough pellets and that the auger is functioning properly.
- Ensure that the temperature dial is set correctly and that the grill has reached the desired temperature.
- If you experience consistent ignition issues, consult the Traeger support team or a qualified technician for further assistance.
Regular maintenance and troubleshooting will help you enjoy seamless cooking experiences on your Traeger grill for years to come. By taking care of your grill, you can continue to create mouthwatering meals for your family and friends. Happy grilling!
Cleaning And Maintenance Tips
To keep your Traeger grill in top condition, regular cleaning and maintenance are essential. After each use, scrape off any food residue from the grill grates using a grill brush. Empty the ash from the fire pot and clean it thoroughly to prevent airflow blockage. Wipe down the exterior of the grill with a damp cloth and mild soap to remove any grease or dirt. Check for any loose or damaged parts and tighten or replace them as needed. Lastly, protect your grill with a weather-resistant cover when not in use to prevent damage from the elements. Following these simple maintenance tips will ensure that your Traeger grill continues to deliver delicious results for years to come.
Troubleshooting Common Ignition Issues
When it comes to starting your Traeger grill, common ignition issues can sometimes occur. If you find that the IGNITE button is not responding when pressed, there could be a loose connection or a faulty igniter. In this case, it is recommended to check the wiring and connections to ensure everything is secure. If the pellets are not igniting or the grill is not getting hot, it could be due to a clogged fire pot or a malfunctioning auger. Cleaning the fire pot and inspecting the auger for any obstructions can help troubleshoot and resolve these issues. Additionally, if the grill is taking too long to ignite, it may be due to a low pellet supply or a problem with the fan. Checking the pellet levels and ensuring that the fan is working properly can help resolve this issue. By troubleshooting these common ignition issues, you can ensure a smooth and successful start to your Traeger grill every time.
Mastering Traeger Grill Cooking Techniques
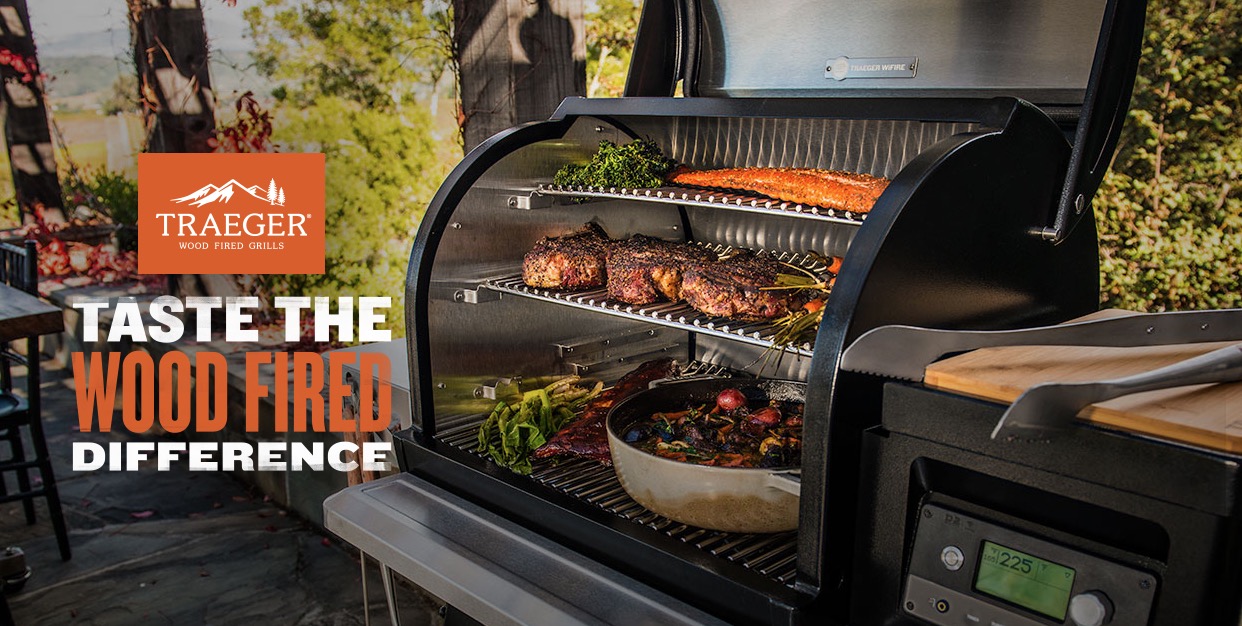
Once you have mastered the basics of starting your Traeger grill, it’s time to take your cooking to the next level. Traeger grills offer a versatile cooking experience, allowing you to grill, smoke, and bake all with one machine. To become a true Traeger grill master, there are a few key techniques to keep in mind.
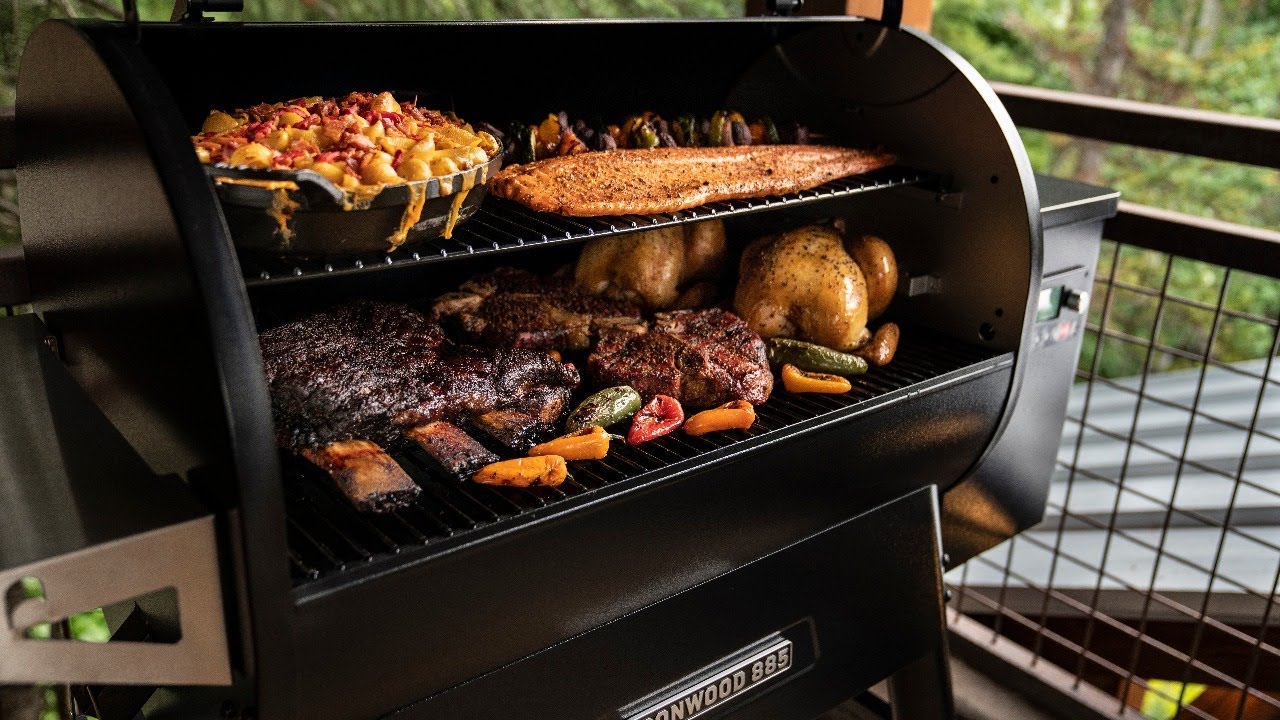
First, when grilling on a Traeger, it’s important to preheat the grill for about 15 minutes to ensure even heating and a perfectly seared exterior. Next, experiment with different smoking techniques, such as using different flavors of wood pellets to enhance the taste of your meat or vegetables. Lastly, don’t be afraid to get creative by incorporating Traeger recipes and trying out new rubs, sauces, and marinades. With practice and a little culinary imagination, you will soon be wowing friends and family with your delicious Traeger creations.
Tips For Grilling, Smoking, And Baking On A Traeger Grill
When it comes to grilling, smoking, and baking on a Traeger grill, there are a few tips to keep in mind to ensure the best results. For grilling, preheat the grill for about 15 minutes to ensure even heating and a perfectly seared exterior. When smoking, experiment with different flavors of wood pellets to enhance the taste of your meats or vegetables. And for baking, use a pizza stone or cast iron skillet to create a delicious crust or even desserts like cookies or cakes. With these tips, you’ll be able to take full advantage of the versatility of your Traeger grill.
Delicious Recipes To Try On Your Traeger Grill
Expand your culinary skills and explore the endless possibilities of cooking on your Traeger grill with these delicious recipes. From perfectly grilled steaks to mouthwatering smoked BBQ ribs, your Traeger will elevate your cooking game to new heights. Try your hand at making homemade wood-fired pizzas with crispy crusts and melty cheese, or experiment with smoking a whole chicken or turkey for a juicy and flavorful meal. Don’t forget to explore Traeger’s recipe collection, which includes delectable desserts like grilled peaches with mascarpone cream or apple crisp. Get ready to impress your friends and family with these flavorful creations. Happy Traegering!
FAQ About How To Start Traeger Grill: Mastering Traeger Ignition
Q: What are the basic steps to start a Traeger grill?
A: To start a Traeger grill, plug in the grill, turn the power switch to the ON position, set the temperature dial to the desired temperature setting, then press the Ignite button to start the ignition process.
Q: How long does it take for a Traeger grill to heat up?
A: A Traeger grill typically takes around 10-15 minutes to reach your desired cooking temperature. However, the heating time may vary based on factors like ambient temperature and the model of the grill.
Q: What fuel does a Traeger grill use for ignition?
A: Traeger grills use wood pellets as fuel for ignition and cooking. Make sure you have enough wood pellets in the hopper before starting the ignition process.
Q: Can I adjust the temperature settings on a Traeger grill after ignition?
A: Yes, you can adjust the temperature settings on a Traeger grill even after the ignition process has started. Simply turn the temperature dial to your preferred setting to regulate the temperature inside the grill.
Q: What should I do if the Traeger grill fails to ignite?
A: If the Traeger grill fails to ignite, check the power source, ensure the hopper has enough wood pellets, and make sure the firepot is clean and free of obstructions. Contact Traeger customer support for further assistance if needed.

Johnny Knuckles Knock-out BBQ is a culinary haven for barbecue enthusiasts, offering a fusion of traditional BBQ and tantalizing street fare. Our secret to delivering mouthwatering dishes lies in our meticulous preparation process. Each cut of meat is lovingly hand-rubbed and slow-smoked over 100% hardwood, creating a symphony of flavors that will leave your taste buds dancing. Whether planning a special event or simply craving an unforgettable meal, Johnny Knuckles Knock-out BBQ is here to elevate your dining experience. Our catering services are designed to bring the sizzle and aroma of our delectable BBQ to your event, ensuring that every guest leaves with a full belly and a smile.